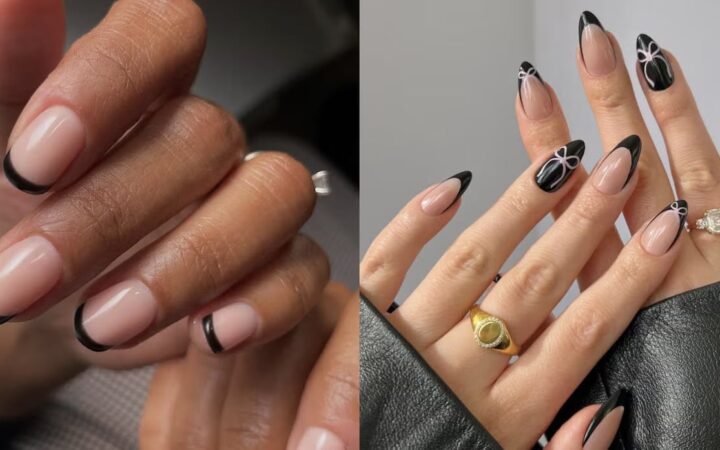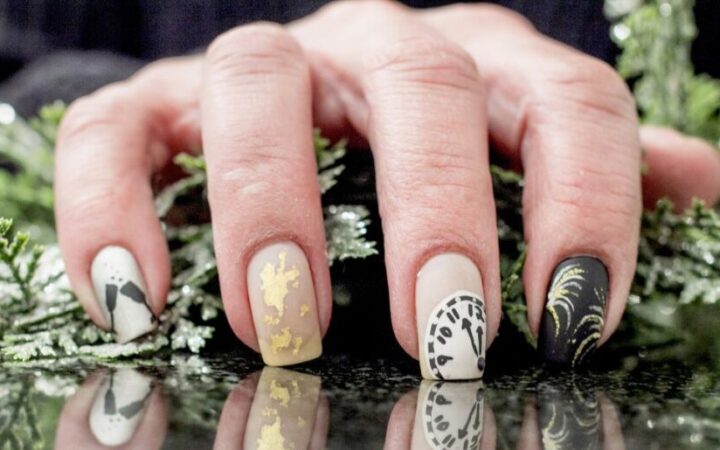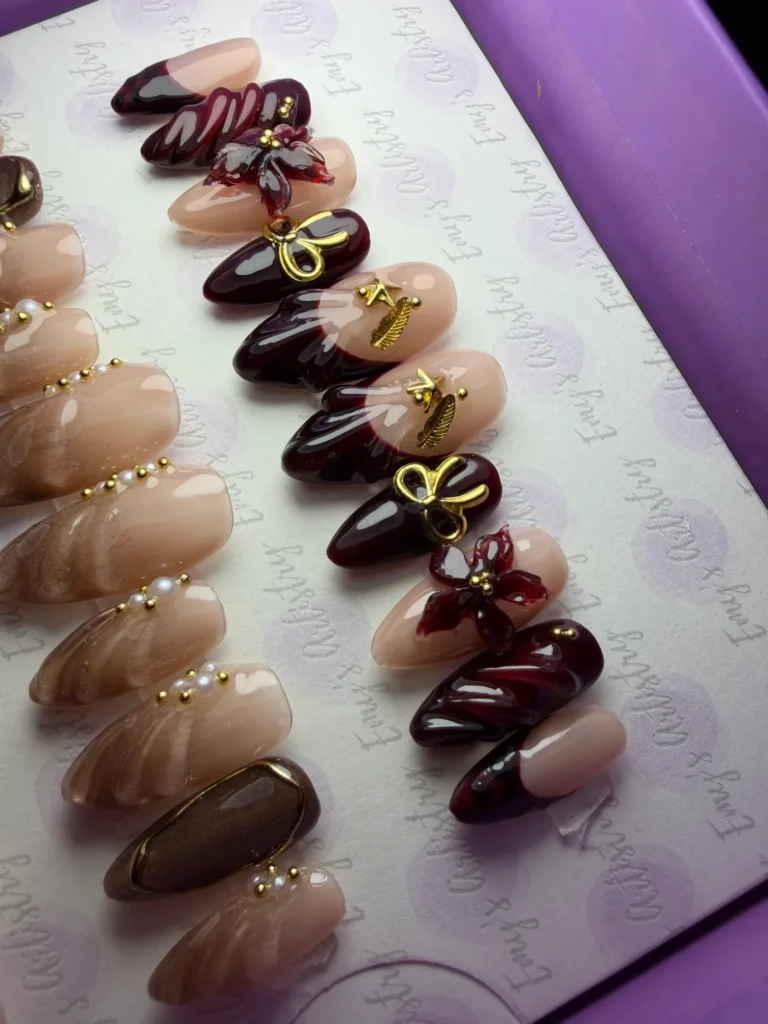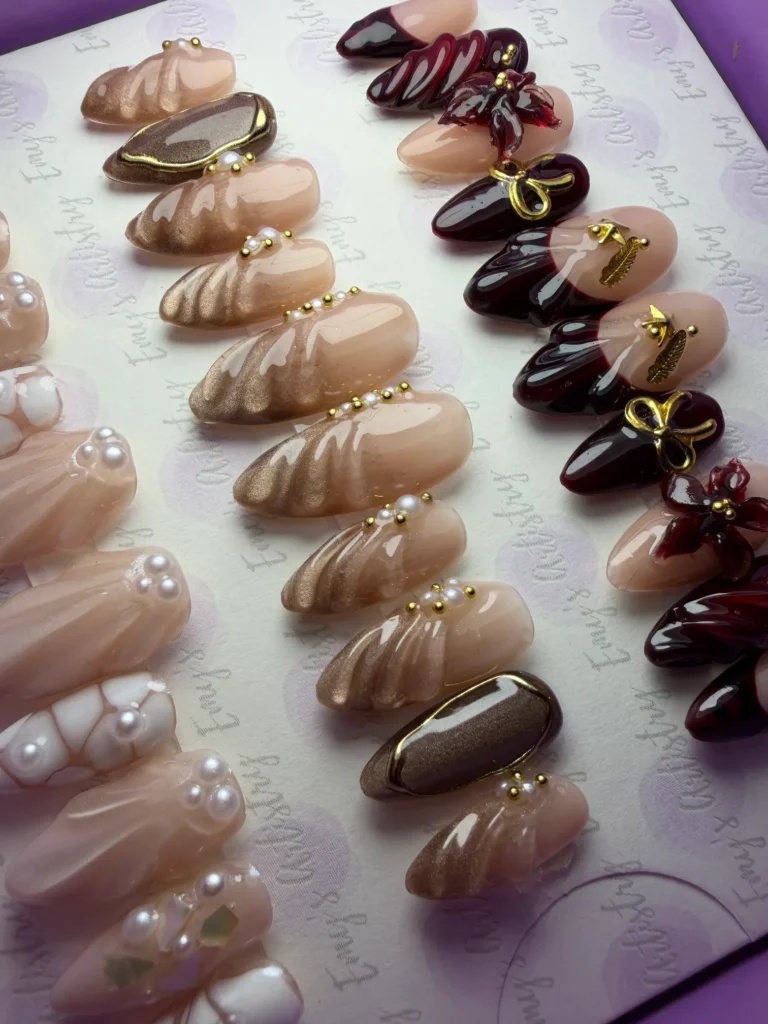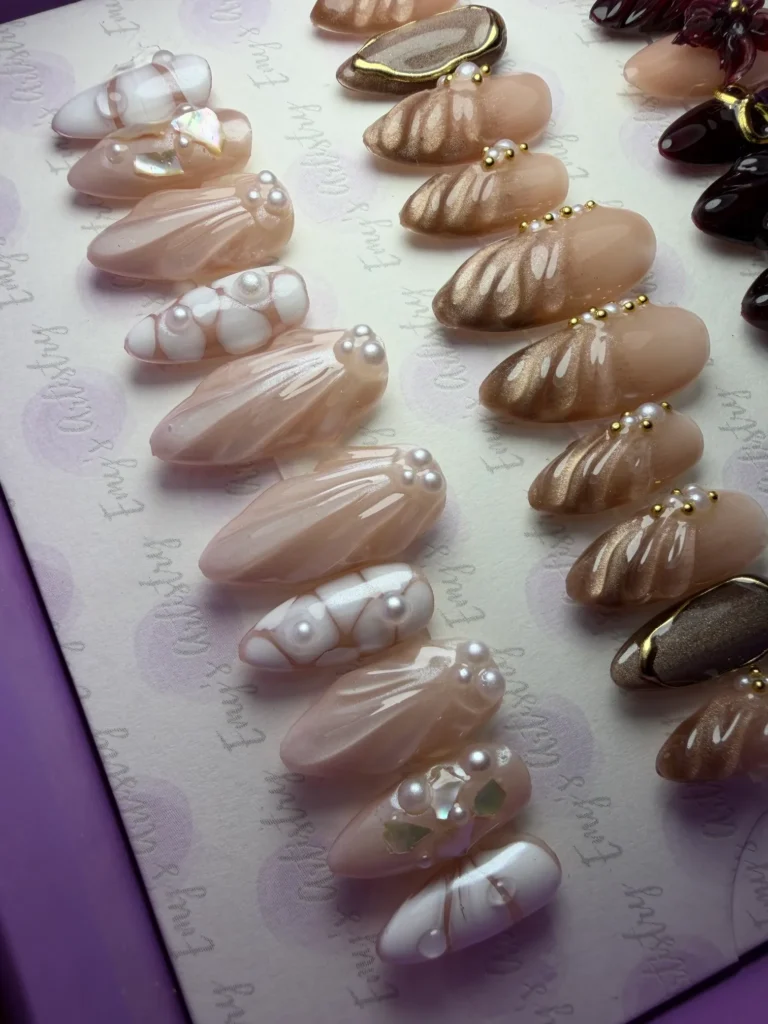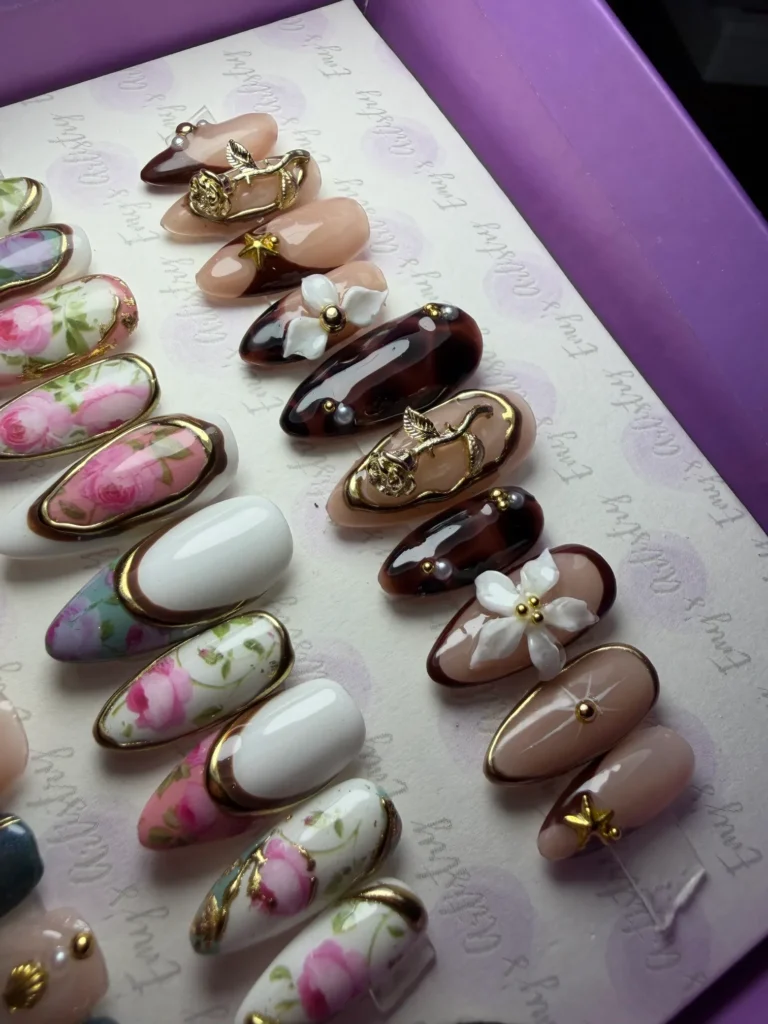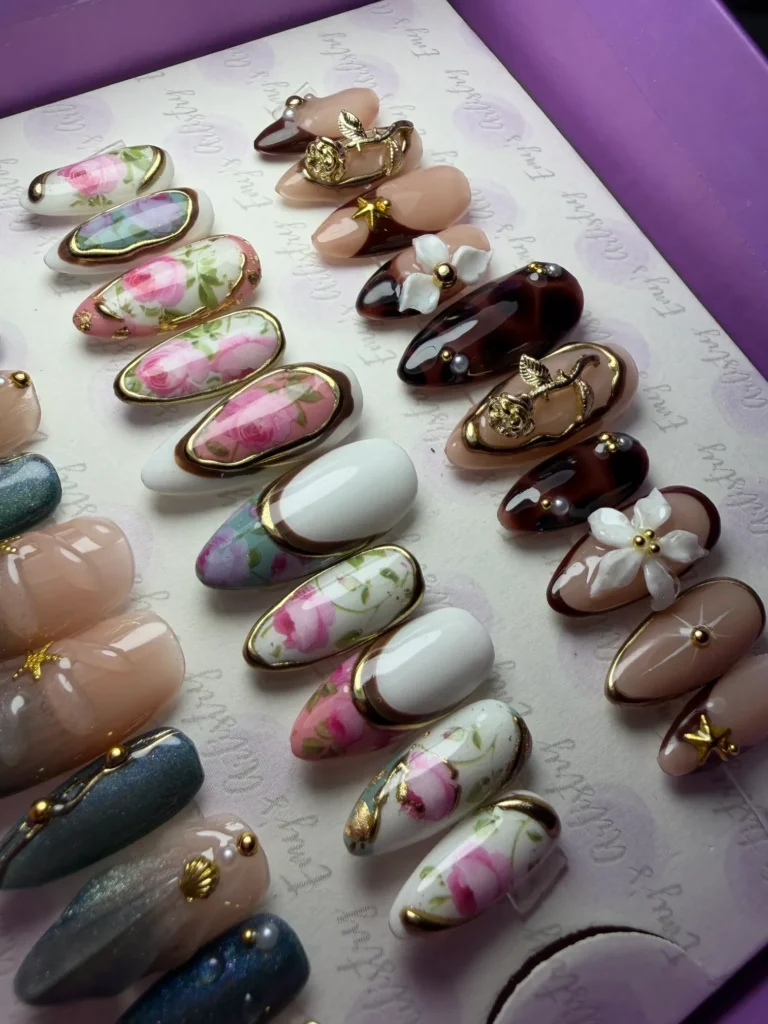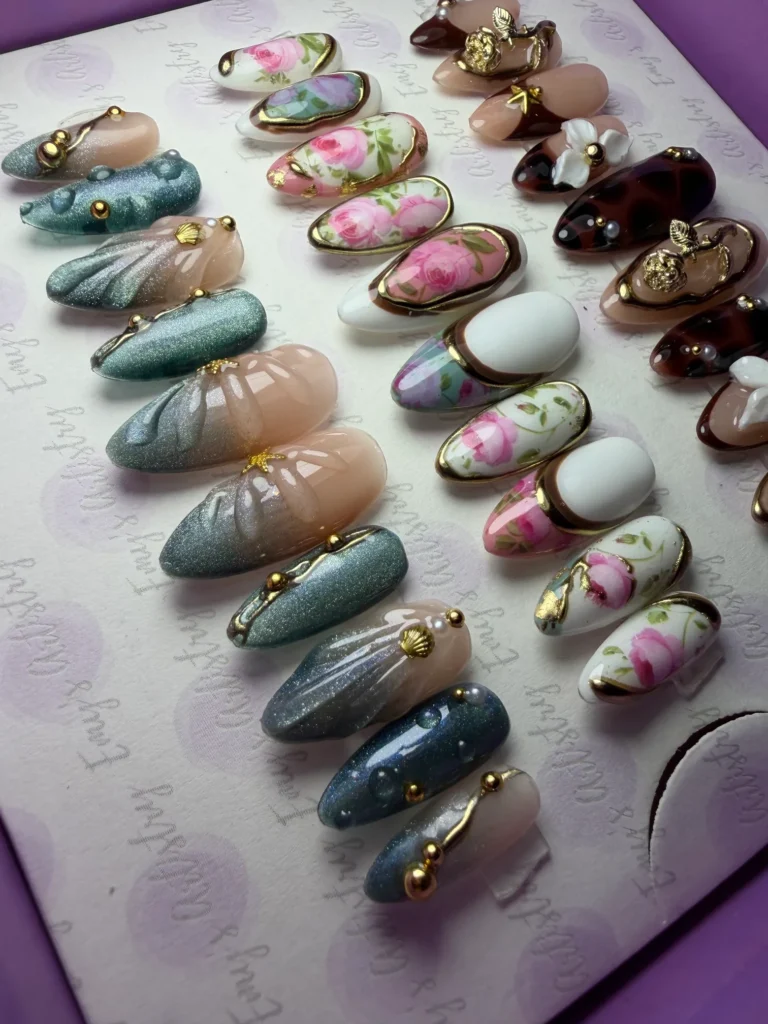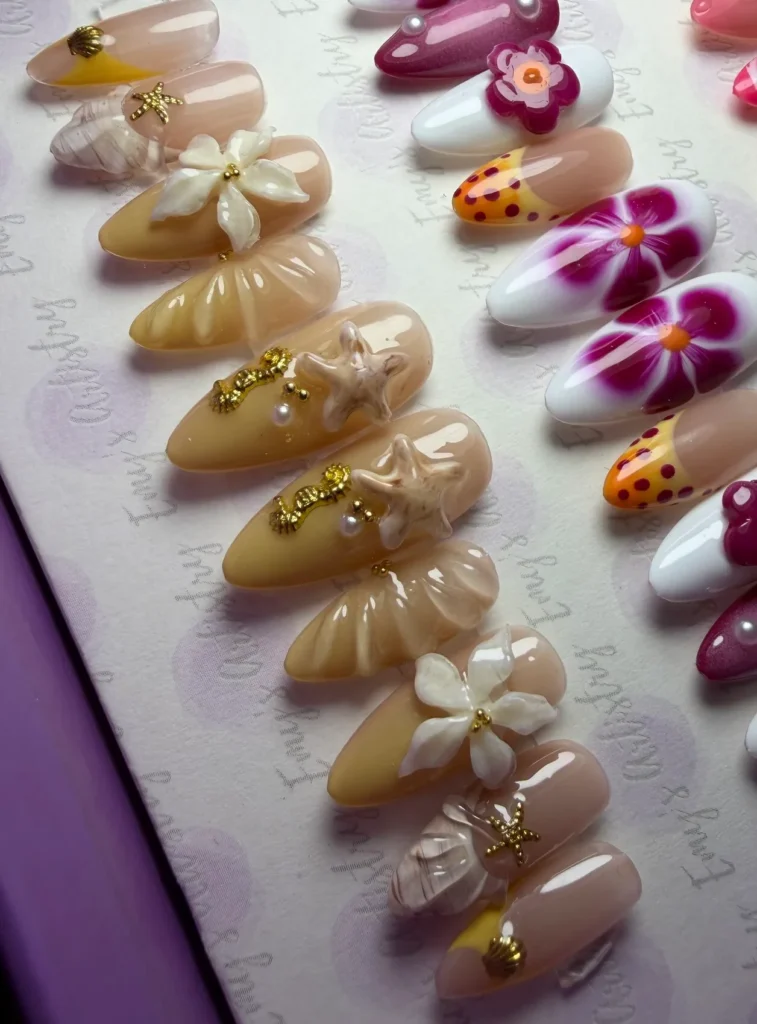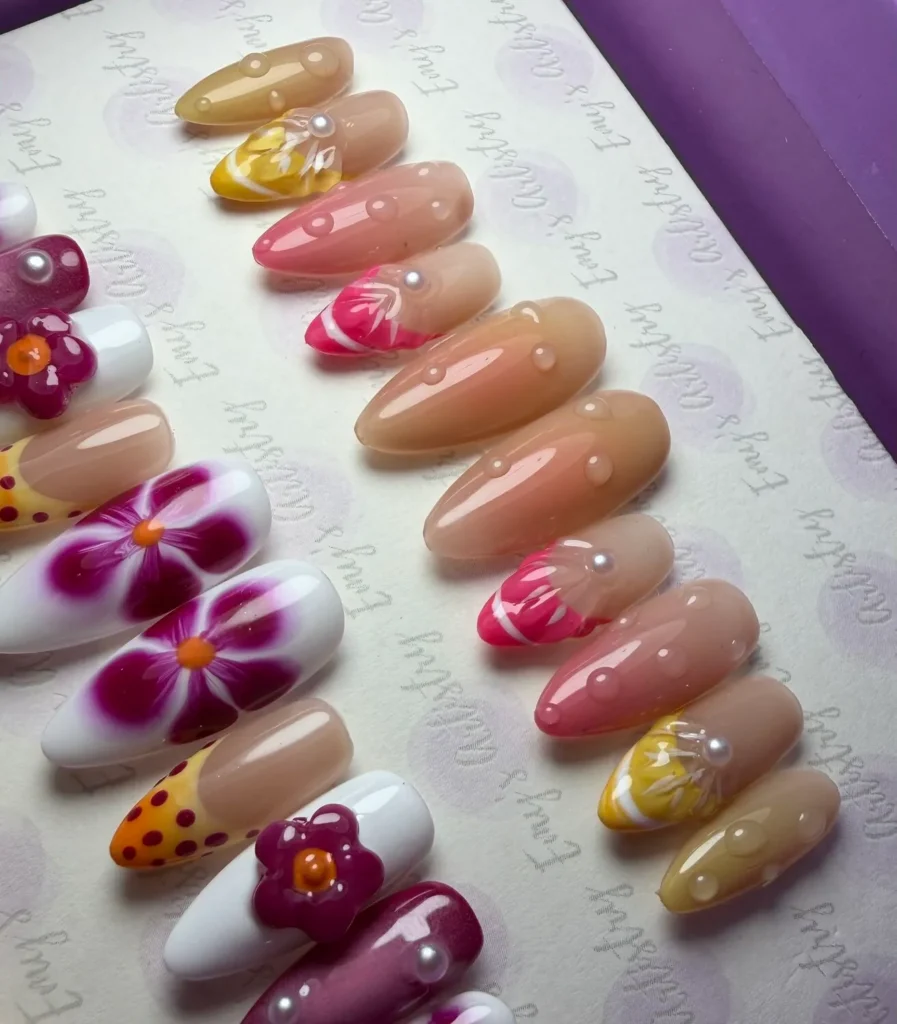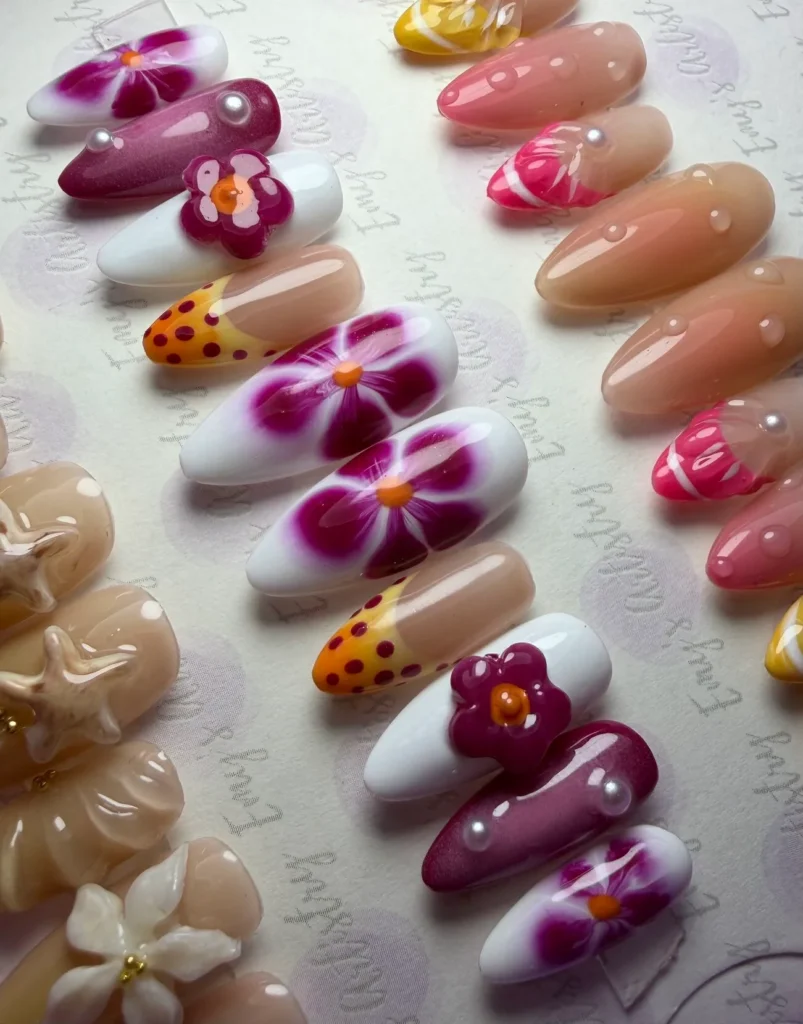
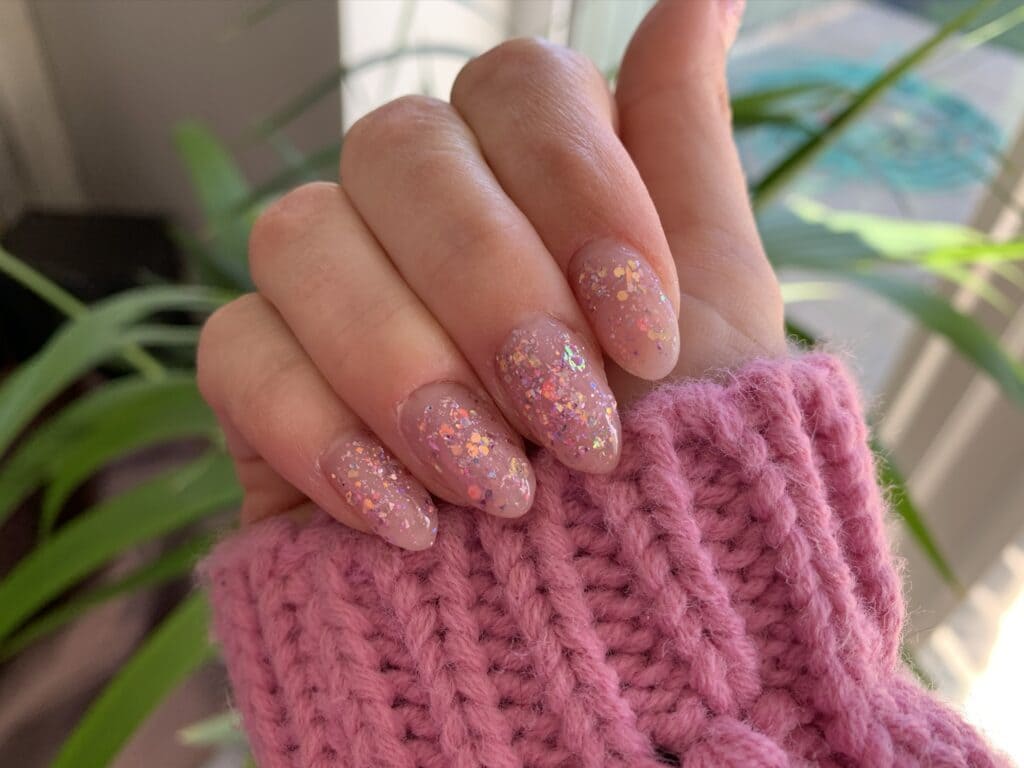
Everyone loves a bit of style on their nails. Whether it’s those acrylic square nail designs or just simple press-on gel nails, they never go out of style. Be it this cute bubblegum ombre poly gel nail or any other style of a form, these always come in handy, be it for a night out or any function. However, what is most important is how you remove polygel nails. Sometimes, the quality of these nails is really good. Therefore, it becomes difficult for you to take them off after a good time of wearing them and showing off your style. Sometimes, even if you nail file or use any other oil for removal, the process might damage your natural nails. And if we’re being practical, nobody wants that. Therefore, we will discover a series of steps through which you can easily remove polygel nails without fail. Let’s go!
Remove Polygel Nails
Polygel nails have become the trendsetting for all the girls out there. Whether you are going for those chic almond nails or just wearing any other acrylic fake nails. Now, how do you remove poly gel nails? You can start by using a nail file. First, remove the top layer of the polyol to remove poly gel nails at home. After removing the poly gel, wash it thoroughly and lubricate your nails and surrounding skin with cuticle oil. Always get professional help from a nail tech if you run into problems or feel damaged. We would also suggest going for that multipurpose Deluxe prep nail kit for removing poly gel nails at home, as it makes things easier for you, consisting of all the required things, such as a cuticle pusher, a file, and other stuff, in a single package.
A Glimpse at Polygel Nails: What Are They?
Modern nail art and care have welcomed poly gel nails as a flexible substitute for conventional acrylic and gel nails. Creativity has much potential because it may be used to expand or shape the natural nail or be applied directly. Polygel nails are notably lighter than other nail types, providing comfort during daily activities without compromising durability. They are much more appealing due to their extensive range of available hues and milder, less overpowering smell. Because polygel nails are more flexible than acrylic and gel nails, they are less likely to break and sustain damage over time. You can go through the essential characteristics of poly gel nails as follows.
· Versatility
It may be used for shaping and poly gel nail extensions or applied directly to the nail.
· Lightweight
Provides comfort for day-to-day activities without sacrificing toughness.
· Variety of colors
Offers an extensive palette for artistic expression.
· Less Odor
It smells less chemically concentrated and is paler than other nail styles.
· Durability
Its greater flexibility makes it less likely to break or get damaged.
Therefore, all you nail enthusiast girls looking for long-lasting, adaptable, and aesthetically pleasing nail treatments will find that poly gel nails offer a creative and valuable alternative.
How to Remove Polygel Nails at Home?
Although polygel nails are renowned for their durability and elegance, correct removal is necessary to preserve nail health and guard against damage. This tutorial discusses three safe ways to remove gel polish and poly gel nails at home. Don’t remove Paddie’s poly gel nails with a nail drill, as it might damage your nails.
Acetone Elimination
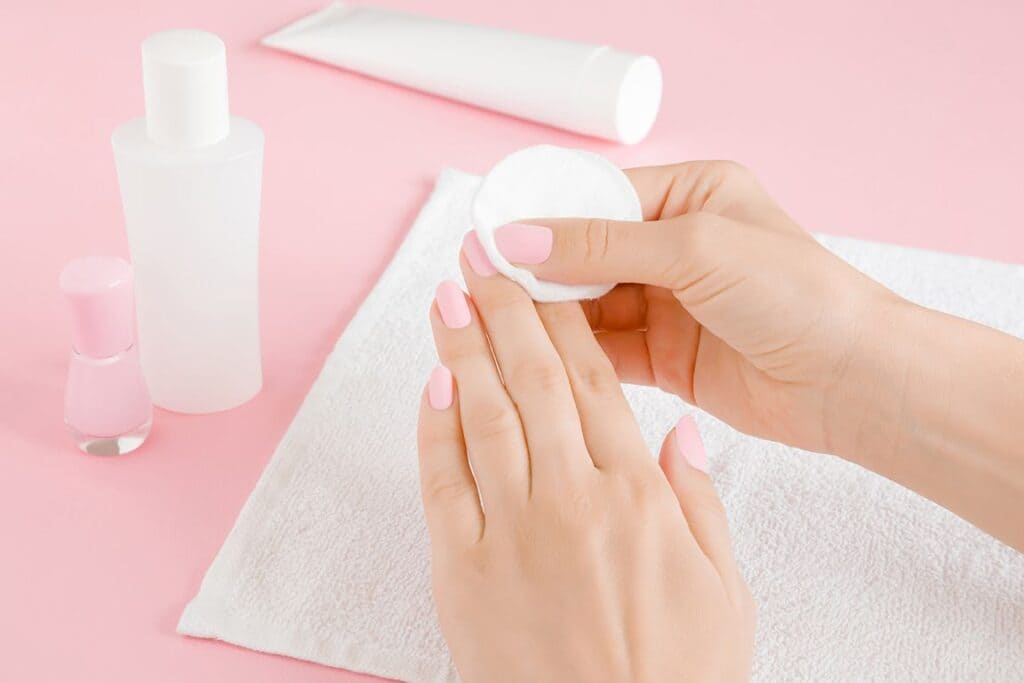
Step 1: Get Your Nails Ready
To prevent damage, trim your nails.
File the polygel’s top layer gently.
Step 2: Soak in Acetone
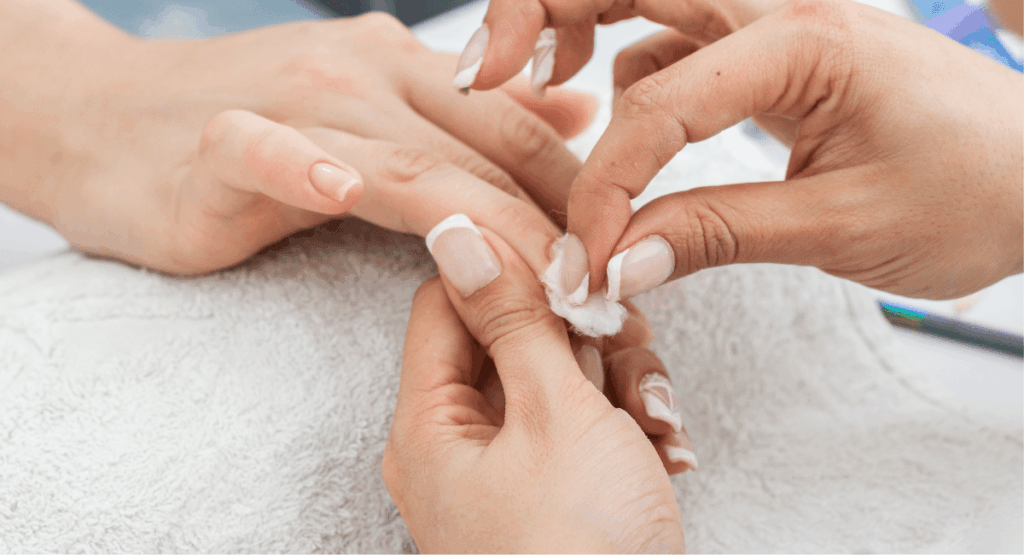
Soak acetone-soaked cotton balls with polish remover.
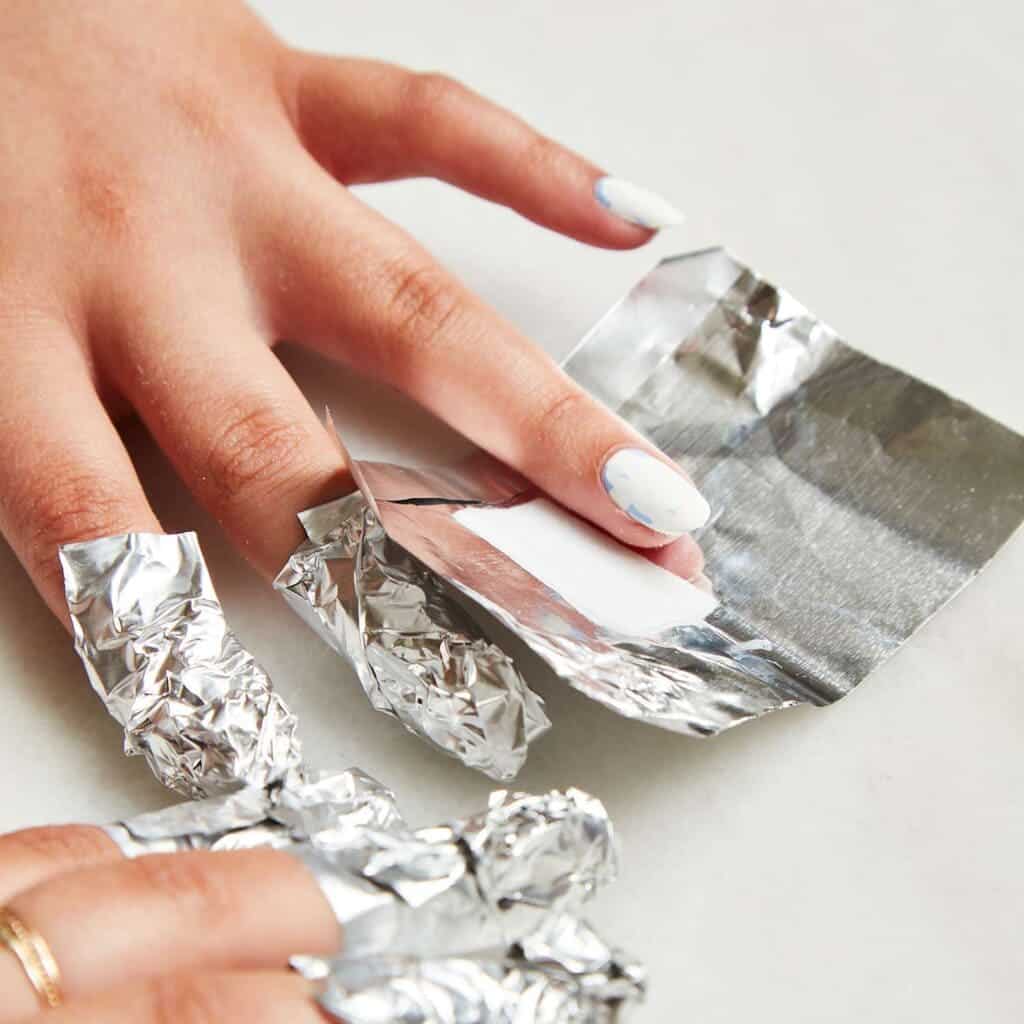
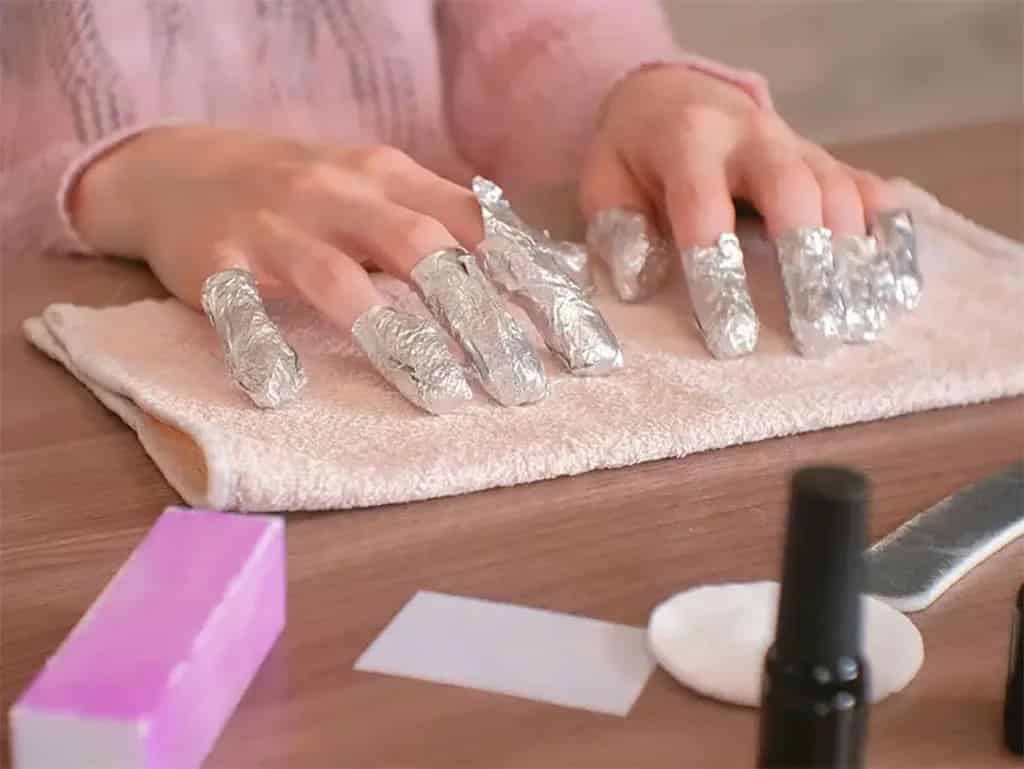
Soak off cotton strands and cover with aluminum foil or clips; allow to sit for ten minutes.
Step 3: Procedure for Removal
With a cuticle pusher, gently push off any residual poly gel after removing the foil or clips.
If necessary, file down any leftover residue.
Step 4: Apply moisture
Use lotion and cuticle oil to hydrate your nails and the skin around them.
The Nail File Technique
First, cut your nails.
Trim any extra length with care.
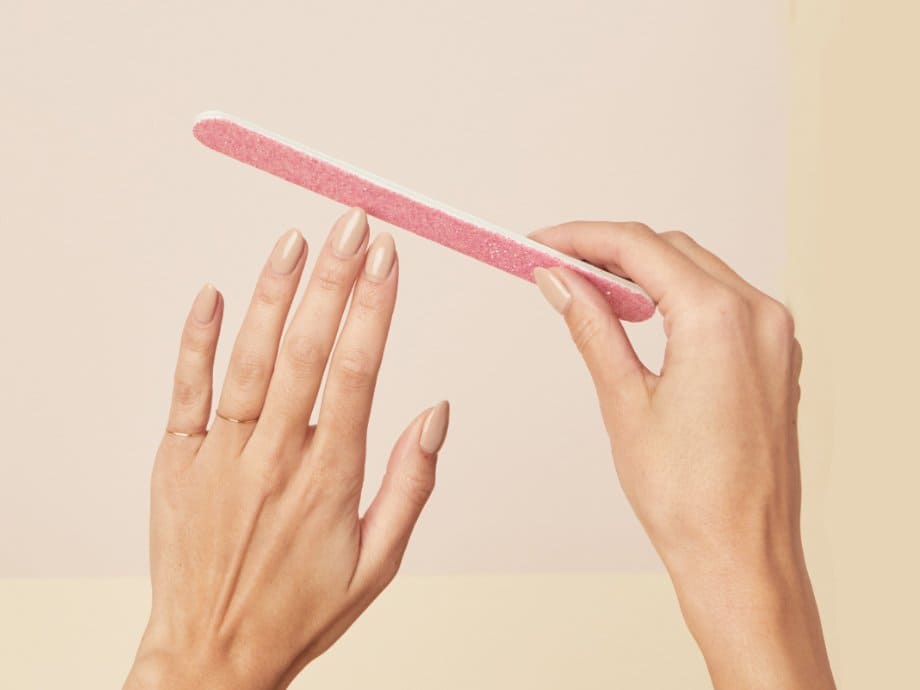
Step 2: The Procedure for Filing
Gently remove the polygel with a nail file that has a grit of 100 or 120.
Do not file the natural nail too deeply.
Step 3: Final Details
To smooth down the nail surface, use a kinder file or buffer.
For hydration, apply lotion and cuticle oil.
The E-File Method
This is another known method to remove polygel nails at home.
Step 1: Get Your Nails Ready
Cut nails to a sensible length.
Step 2: Using the E File to File
Set the electric file to a modest speed.
Stop when the natural nail is reached or the poly gel layer becomes thin.

Step 3: Concluding Actions
Remove any leftover poly gel with a soft file or buffer.
Use lotion and apply cuticle oil to moisturize.
Acetone soak, a nail file, or an electric file can successfully remove poly gel nails at home. Each technique provides different levels of comfort and gentleness for the nails. Prioritize the health of your nails by hydrating them after removal and modifying the method to suit your needs and preferences.
Final Thoughts
Removing poly gel nails at home with the appropriate equipment and methods is straightforward. You may safely dissolve and lift the poly gel using oil and gentle techniques without damaging your nail form. It’s essential to be patient; hurrying the procedure could backfire. If in doubt, get advice from a qualified nail expert.
In conclusion, you can confidently start your DIY nail journey with these steps, knowing that you can successfully remove your poly gel manicure when the time comes. You’re therefore prepared to efficiently tackle the chore, whether for maintenance or a style change. Remember that you should enjoy doing your nail enhancement, be gentle, and take your time. Hence, put on those classy nails and take them off in style!