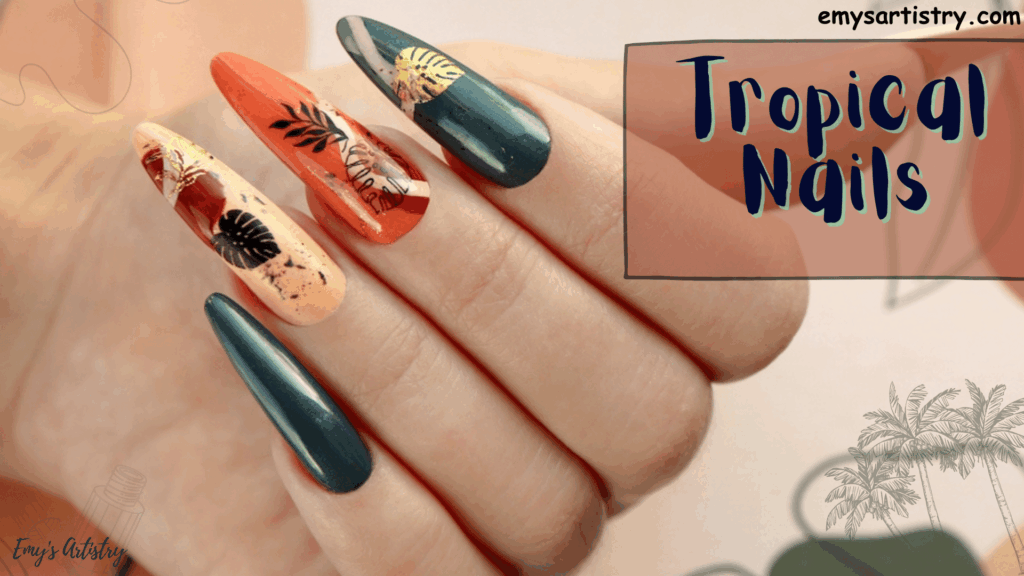
Girlies, I know you want everything to be picture-perfect for your next vacation. From the chosen destinations to your chic beachwear, every detail counts. But don’t forget the little touches that make a big impact, like your nails. Vacation means tropical designs for your next nail art because it captures the summer vibe. So, fashionistas, what I am saying is that these vibrant nail art ideas will add that extra dash of paradise to your look. Let’s talk about tropical nails in detail.
Palm Tree Tropical Nails
Credit: pinterest.com
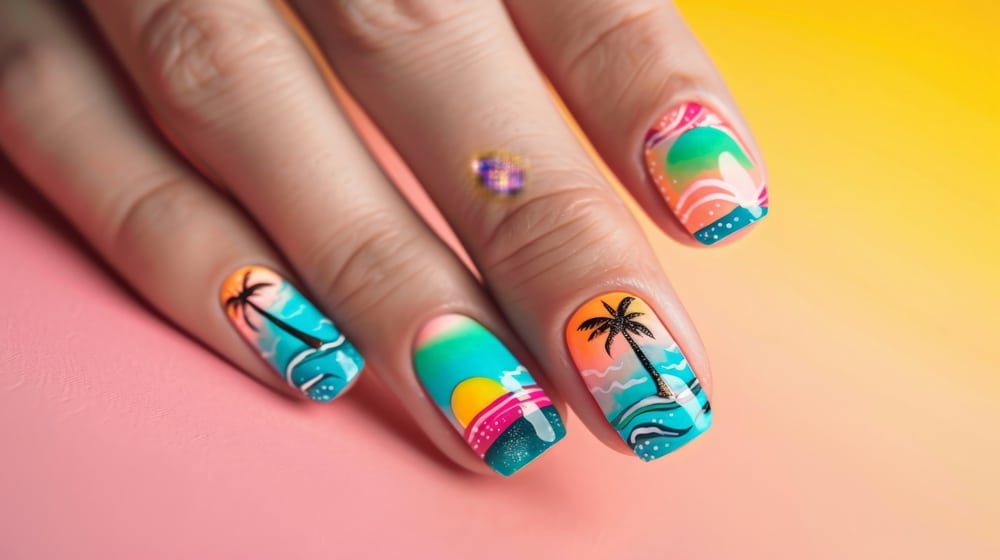
Design: A classic tropical design featuring palm trees against a sunset background.
How-To
- Start with a gradient base using shades of orange, pink, and yellow for a vibrant orange nail design.
- Once dry, use a fine brush to paint black silhouettes of palm trees, adding a beautiful contrast to the french tip nail design.
- Add a touch of glitter for a sparkling sunset effect. The glitter will make this design pop, perfect for summer nails.
- For a tropical manicure look, finish with a top coat to seal in the design and ensure it lasts throughout your vacation.
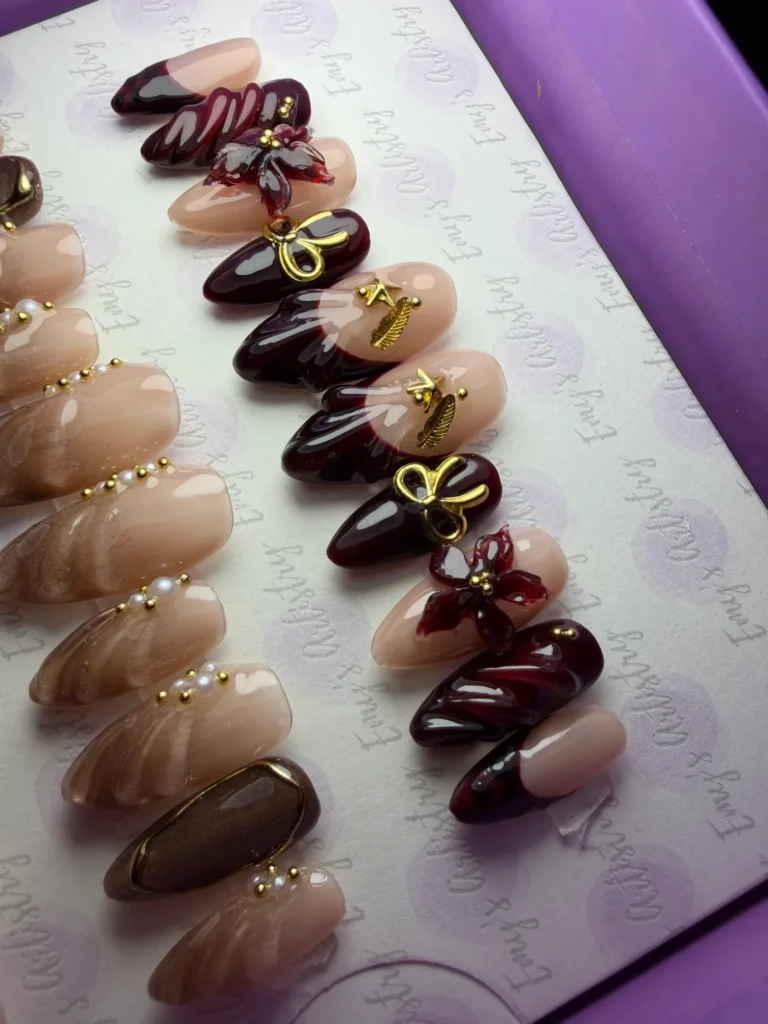
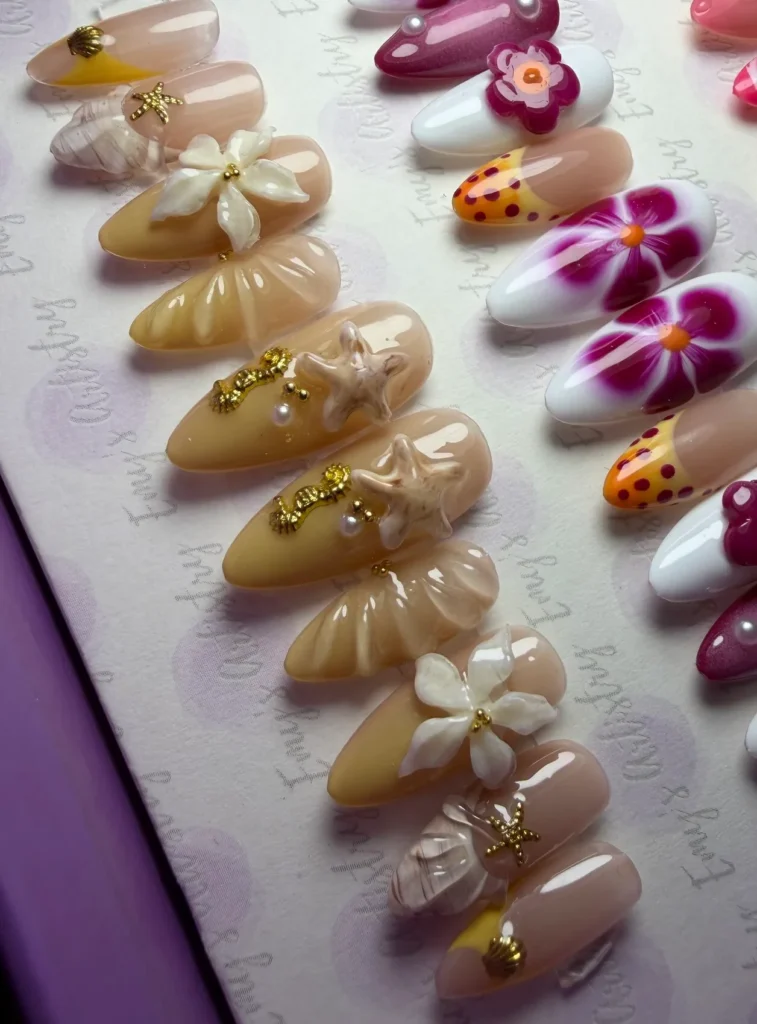
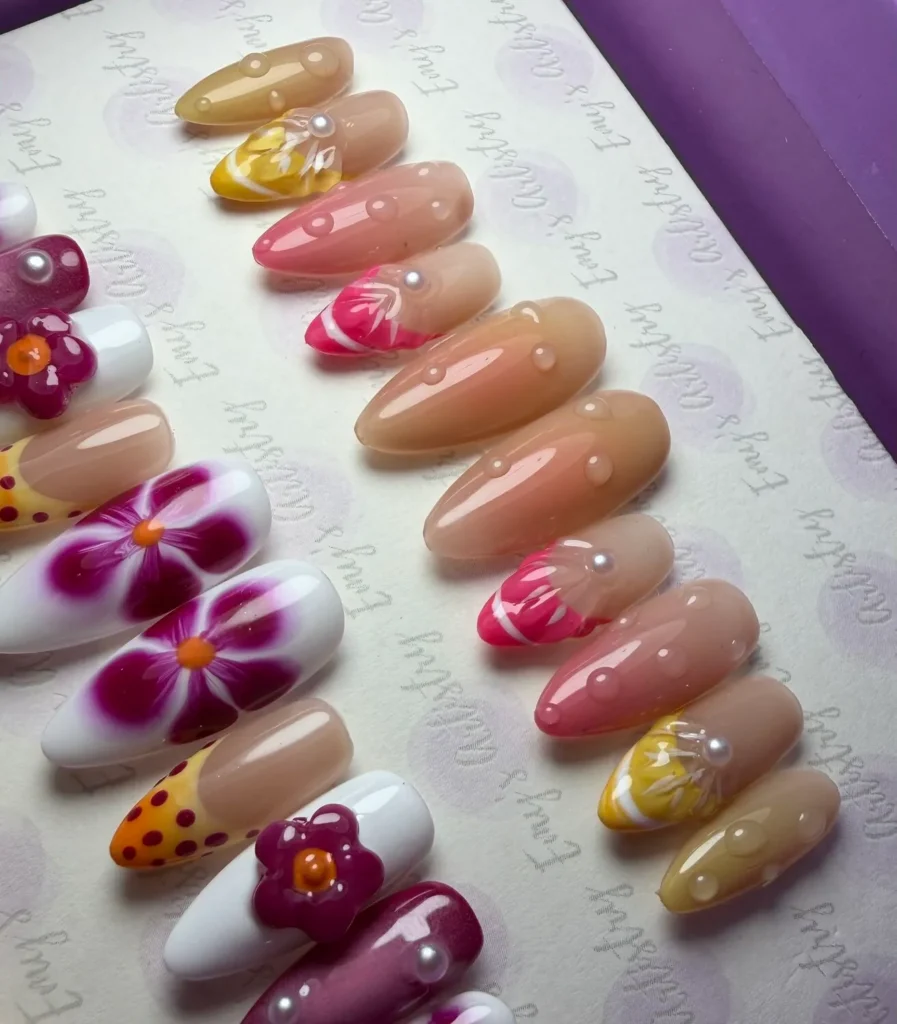
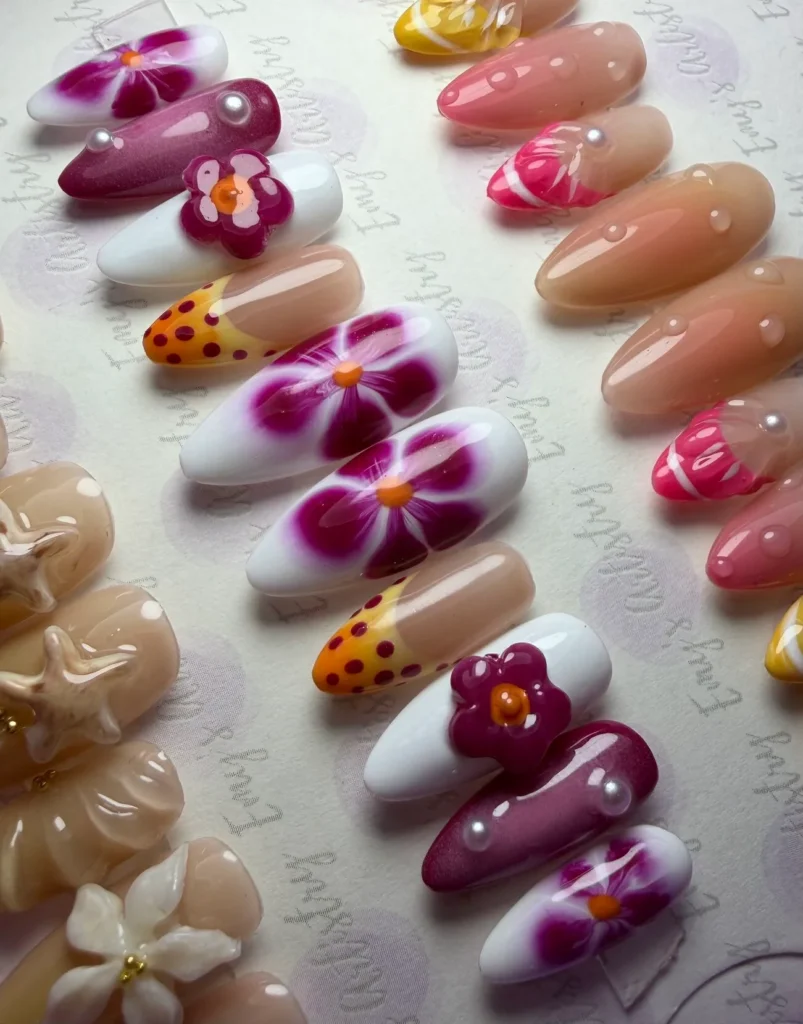
For a simple yet chic way to achieve a tropical look, try starting with colorful French tips with design. You can find these pre-made French tip nail designs at EmysArtistry. Simply apply them and layer on fun tropical fruit or palm tree nail stickers. This easy-to-apply design gives your nails an instant tropical vibe, while also minimizing the need for frequent touch-ups. A top coat will keep your nails looking fresh and vibrant all summer long!
Tropical Flowers
Design: Vibrant hibiscus flowers and plumeria flowers.
How-To
- Begin by painting your nails with a bright base color, like turquoise or coral.
- Use a detail brush to paint hibiscus flowers in various colors. These bright tones will really stand out against the olive green nails if you’re opting for a more earthy vibe.
- Add leaves and details with green polish colors, finishing with a top coat for a polished look.
Tropical Fruit Medley
Credit: hellomagazine.com
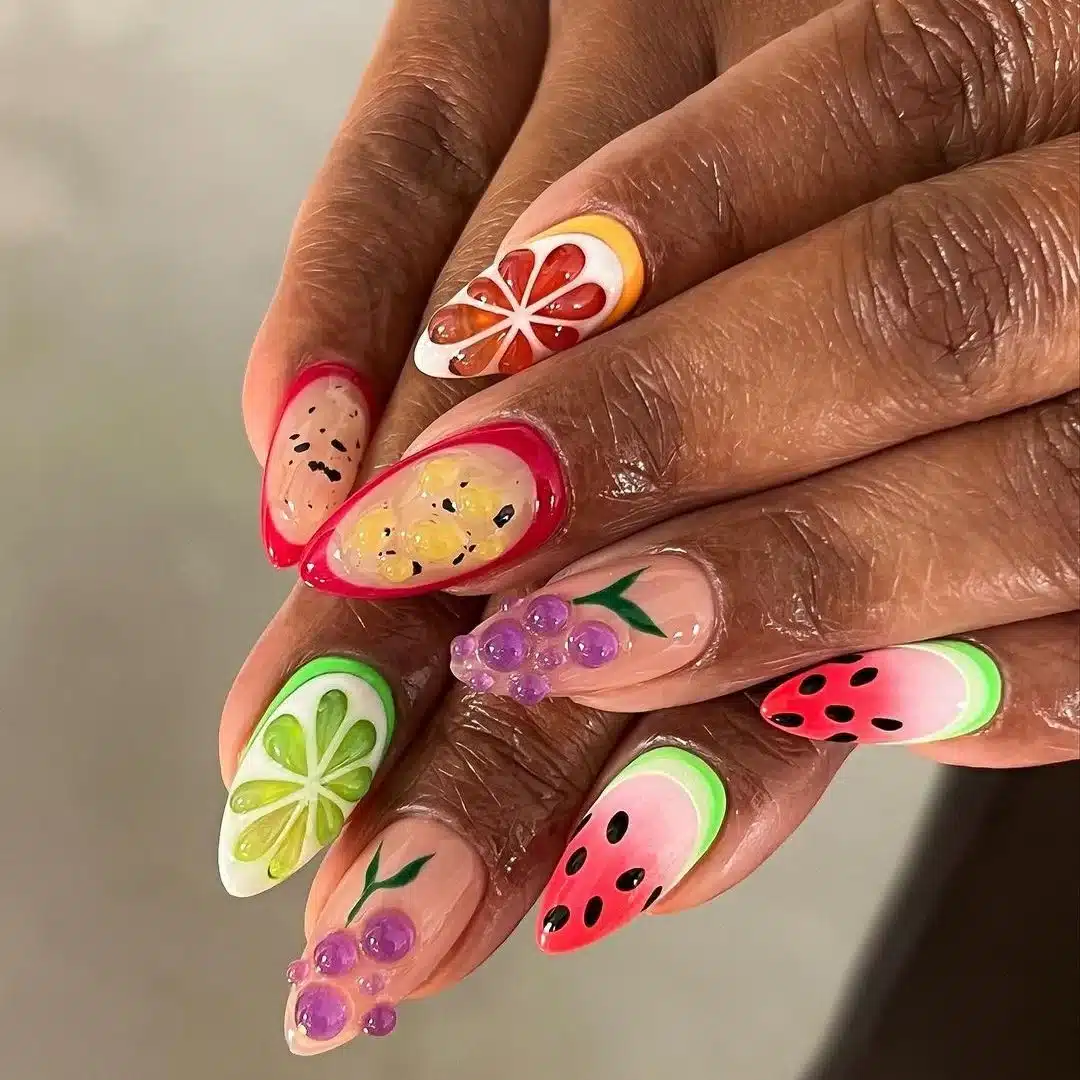
Design: Fun fruit patterns, including pineapple nail art, watermelons, and coconuts.
How-To
- Choose a light, summery base color.
- Using nail art pens or brushes, create small, colorful fruit patterns.
- Top with a glossy coat to make the fruits pop, and if you like, add some nail stickers for extra fun.
Beach Waves
Design: Ocean waves rolling onto the shore.
How-To
- Apply a light blue base.
- Using white polish, create wave patterns by gently dragging a brush across the surface.
- Add a sandy beige at the tips to mimic the beach.
- For a seamless finish, use a top coat.
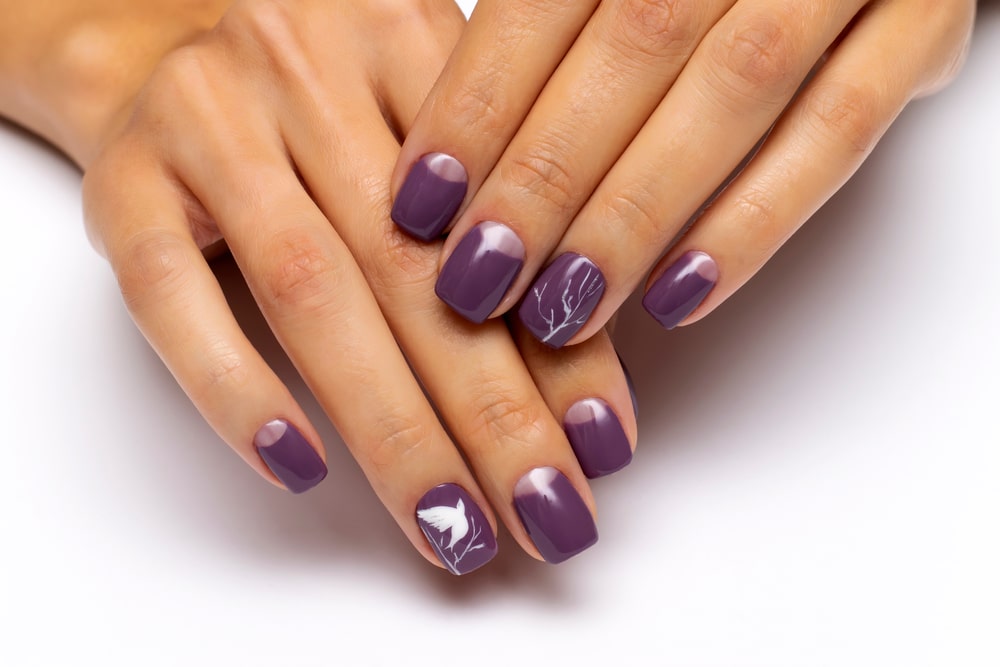
Tropical Birds
Credit: everypixel.com
Design: Bright parrots and toucans.
How-To
- Choose a bold, colorful base like hot pink or electric blue.
- Paint tropical birds using various bright colors.
- Use a fine brush for details like feathers and beaks.
- For a vibrant finish, seal with a top coat.
Sunset Ombre
Design: A gradient reminiscent of a tropical sunset.
How-To
- Create an ombre effect with shades of pink, orange, and purple.
- Blend the colors from the base to the tip of the nail for a smooth transition.
- Finish with a top coat to seal the gradient and enhance the vibrancy.
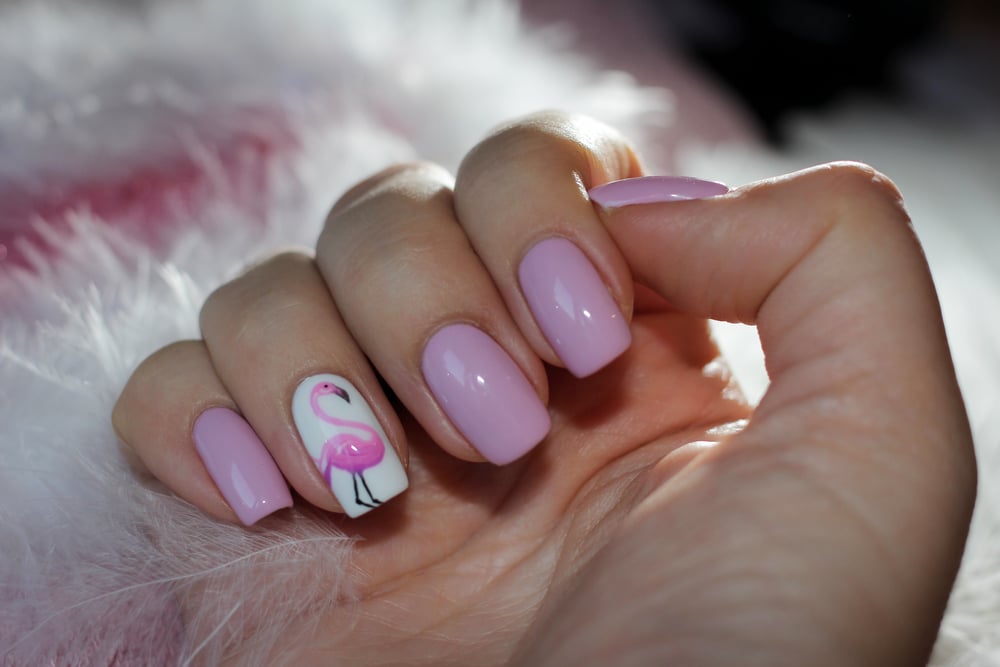
Flamingo On Nails
Credit: shutterstock.com
Design: Cute flamingos standing amongst tropical foliage.
How-To
- Start with a pastel base color.
- Paint flamingos using pink polish and add green leaves and flowers around them.
- Outline with black for added definition, and use a top coat for durability.
Cacti for Nail Art
Design: Trendy cactus patterns with blooming flowers.
How-To
- Apply a light base color.
- Paint cacti in various shades of green and add colorful flowers on top.
- Use a fine brush to add details like thorns and shadows.
- Finish with a glossy top coat to protect your design.
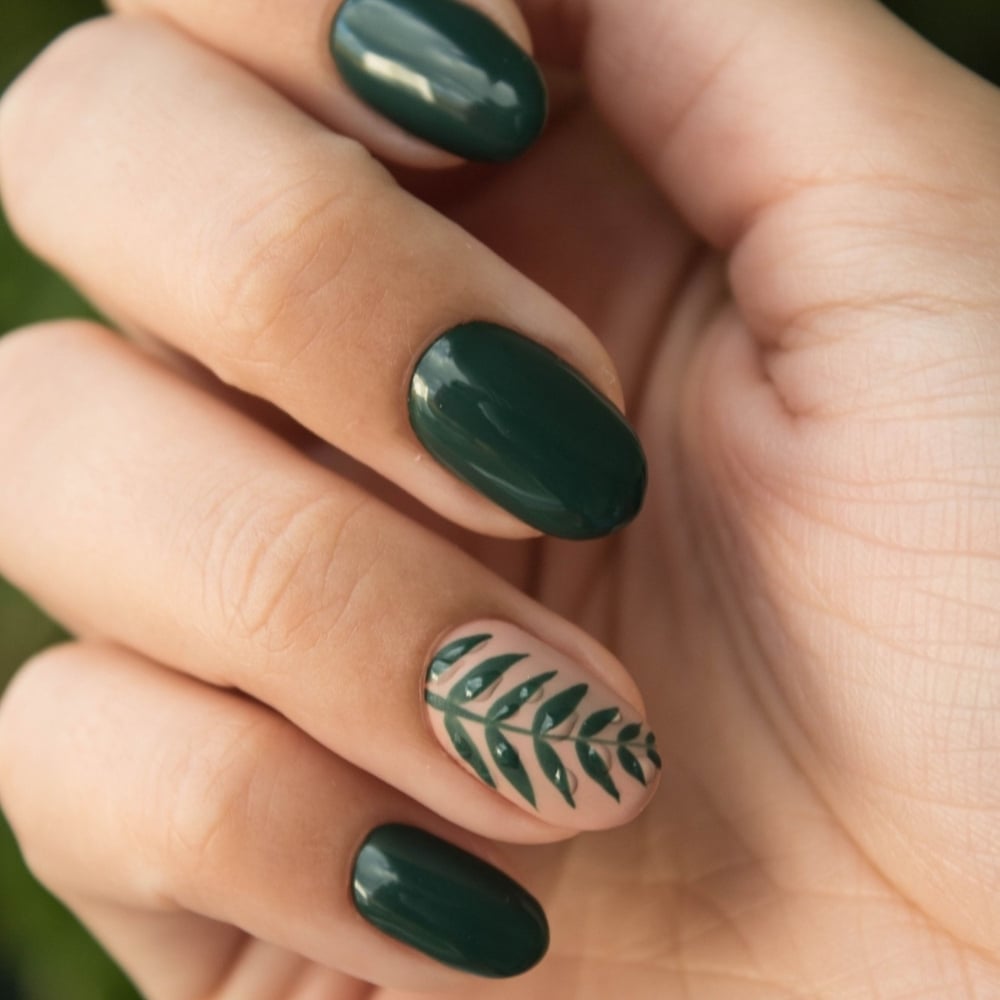
Tropical Leaves
Credit: amazon.ca
Design: Lush green monstera and palm leaves.
How-To
- Use a bright, solid base color.
- Paint large, bold leaves with different shades of green.
- Add white accents to make the leaves stand out.
- Seal with a glossy top coat for a long-lasting finish.
Underwater Scene
Design: A vibrant underwater world featuring fish, corals, and bubbles.
How-To
- Apply a deep blue base.
- Use various colors to paint fish, corals, and bubbles.
- Blend the edges for a more natural underwater look.
- For added gloss, use a top coat.
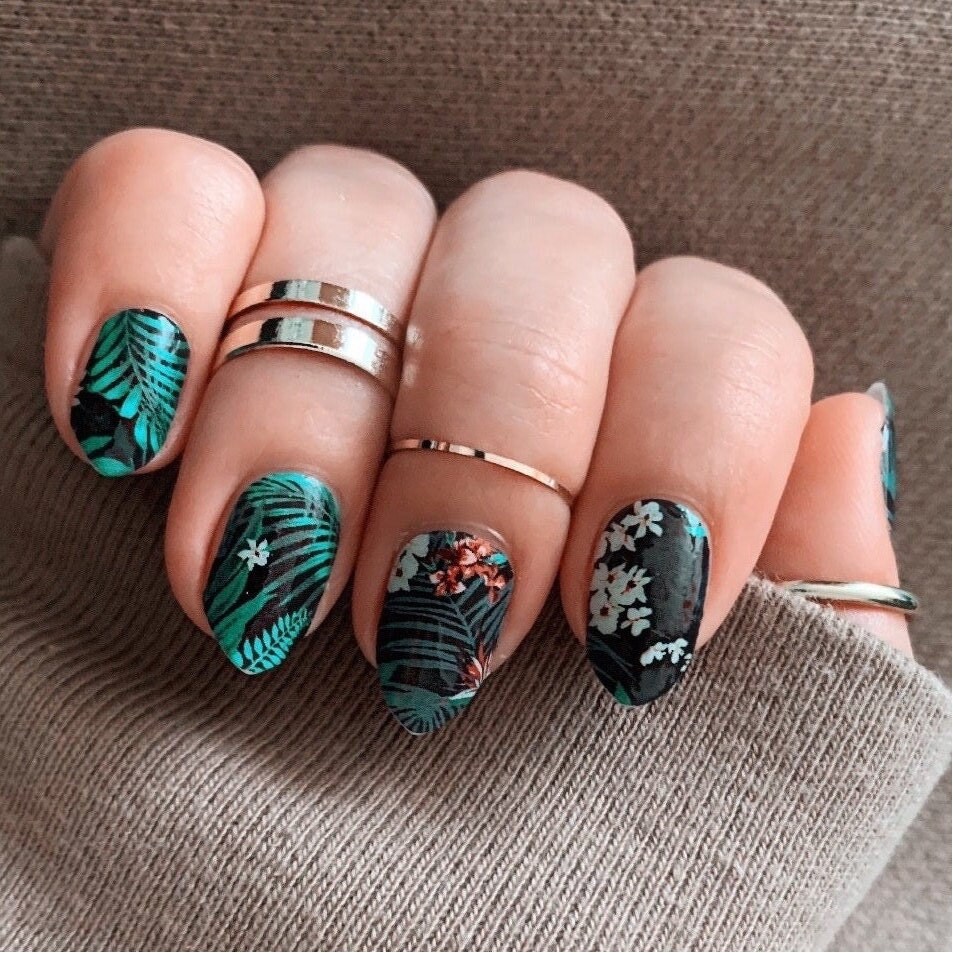
Tropical Nights
Credit: etsy.com
Design: A starry night sky with tropical elements.
How-To
- Start with a dark blue or black base.
- Paint a silhouette of palm trees and tropical flowers in black.
- Use white polish to add stars and a moon for a nighttime feel.
- Finish with a top coat for a sleek look.
Sun and Sand
Design: A simple and elegant design featuring a sun over the sandy beach.
How-To
- Apply a gradient base with sandy beige and sky blue.
- Paint a simple sun in yellow at the base of your nails and add a few small waves at the tips.
- Seal with a top coat to keep the design vibrant.
Tropical Tie-Dye Nails
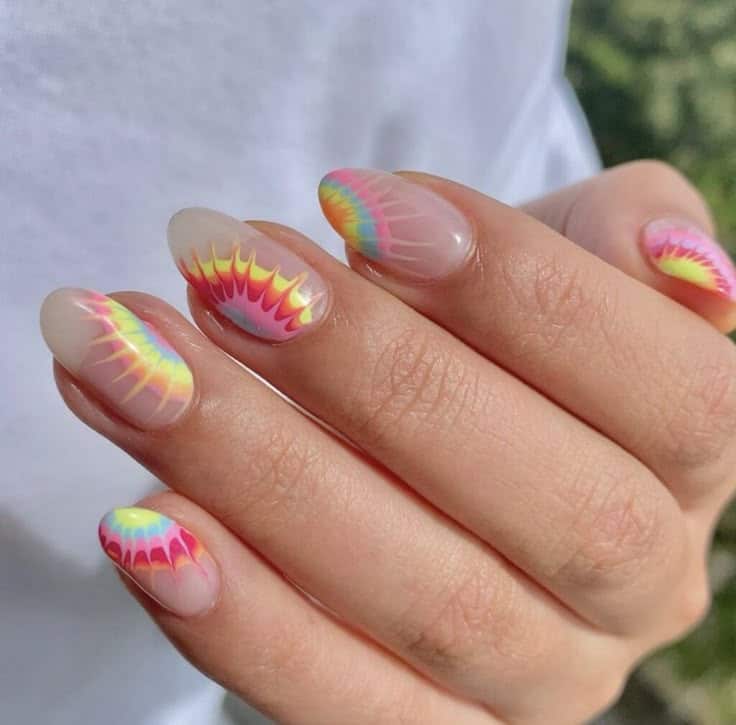
Credit: pinterest.com
Design: A vibrant, swirling tie-dye pattern.
How-To
- Choose a base color and create swirling patterns with various neon shades.
- Use a sponge to blend the colors together and finish with a top coat for a smooth, glossy finish.
You can check out different ideas for Tie and Dye patterns in this article for interesting options.
Island Breeze
Design: A design featuring tropical drinks with little umbrellas.
How-To
- Start with a bright base color.
- Paint small tropical drinks with tiny umbrellas on each nail.
- Use vibrant colors for the drinks and add a little glitter to mimic the sparkle of a refreshing summer cocktail.
You can also check out these amazing Lemonade nails that truly match the spirit of tropical nail art.
Tips for Perfect Tropical Nails
You can get help from the tips mentioned below if you want to stand out in your next nail art:
- Prep Your Nails: Start with clean, trimmed nails. Apply a base coat to protect your nails and ensure your design lasts longer.
- Use Quality Polishes: Invest in good-quality nail polishes and top coats for vibrant, long-lasting colors.
- Practice Your Technique: If you’re new to nail art, practice your designs on a practice sheet or press them on your nails before applying them.
- Add Details Carefully: Use fine brushes or nail art pens for intricate details to ensure a polished and professional look.
Final Words
Summing up what has been discussed so far, the article covered details on topical nail designs. Not only do they give off a summerish vibe, but they also go well with every outfit. So, my girlies, it’s time to shine out and turn heads wherever you go.
Topical Vibes!